#1959
Reddipped.com VirtualBox with SOA, BPM, OSB and BAM in 33 minutes – Reddipped.com
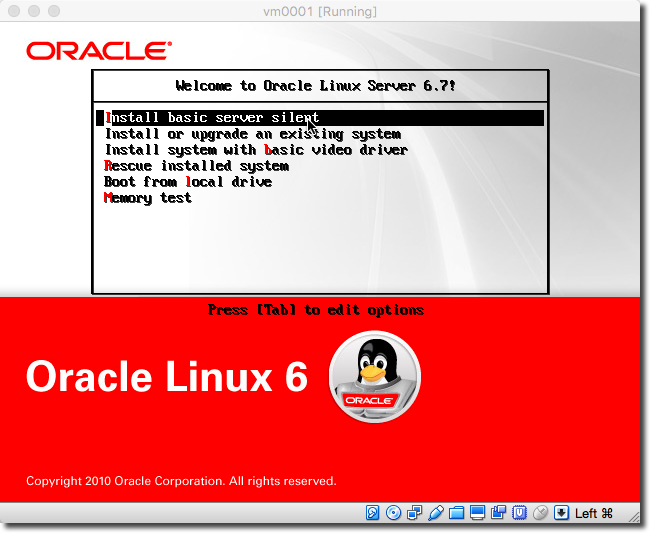
The Oracle Quick Start installers for Developers are great for probably many developers, but they are limited. Shutting down (or crashing of) JDeveloper will shutdown the domain and there are separate Quick Start installers for SOA and BPM suite. When installing a SOA or BPM environment for development or research purposes i prefer an environment which is more close to a production configuration. Setting up an new environment can take some time when you have to go through the wizards and remembering the options chosen the previous time you installed. Therefore i scripted the installation proces, the scripts are divided per product so that i a later stage easily can replace specific stages in the installation proces and am not bound to a specific virtualization product or installation tool. In this article i will show you how to configure a VirtualBox machine, install Oracle Linux 6U7, Oracle BPM (including SOA), OSB & BPM. And configure a Weblogic 12cR1 domain with separate managed servers forSOA/BPM, OSB and BAM in less than 33 minutes. Preparation Make sure VirtualBox 5 is installed and the VirtualBox NAT network is configured as previously published in Setting up a NAT network in VirtualBox 5. Download the installation scripts from the Github repository reddipped/soa12cR1install. On linux and OS X the repository can be downloaded from the command-line with the command [crayon-5adef515e13fc813971013-i/] . After the repository is downloaded it has to be supplemented with the miscellaneous installation files from Oracle. Go through the sub-folders and follow the instructions described in the download.info files. [crayon-5adef515e1407076159872/] When the instructions in the download.info files have been completed the repository should have the following folder structure. [crayon-5adef515e140c894480049/] Modify Oracle Linux ISO In this step the original installation image of Oracle Linux will be modified by adding a kickstart configuration file and the virtualbox guest additions installation image. This kickstart configuration file automates the installation of Oracle Linux and only requires a hostname, and essential network configuration options. The installation process not only automates the choices you normally would have to make when going through the installation screens, but also; Creates the users (Oracle) and groups (g_fmw) Sets up basic directory structure and ownership Adds uses Oracle to group vboxsf Adds user Oracle to sudo’ers group Updates Oracle Linux Installs Oracle DB 12cR1 preinstall packages Installs VirtualBox guest additions When having OS X as the host OS If you have OS X (Yosemite or El Capitan), you can use the following steps to create a new update iso file of Oracle Linux. [crayon-5adef515e1415404619058/] Add a the new kickstart configuration to the boot menu using the following instruction [crayon-5adef515e1419702269443/] Now build the customized Oracle Linux 6u7 iso image by executing the script [crayon-5adef515e1421481699573-i/] After completion the customized Oracle Linux iso, V77197-01U.iso will have been created. When not having OS X as the host OS You will probably need an ISO editor. I can not recommend any, so if you have suggestions put it in the comments below. Make the following changes after opening the V77197-01.iso in the ISO editor of your choice. Copy the file ks-bd.ks to the root of the iso image Create a folder /vboxadditions Copy the file VBoxGuestAdditions.iso to /vboxadditions (this file must be somewhere in your VirtualBox installation folder) Remove the file /isolinux/boot.cat Edit isolinux/isolinux.cfg in a text editor and add the highlighted lines above the label linux at line [crayon-5adef515e1425762666368/] Save the file as V77197-01U.iso into soa12cR1install/oraclelinux Creating a VirtualBox machine Create a new machine in VirtualBox by following the few steps below. Install Oracle Linux The installation of Oracle Linux can now be executed in three steps. Start the newly created machine and follow the instructions below. Install Oracle Db 12c SE2 Now Linux is up and running, logon as Oracle and run the installation script for Oracle DB Standard Edition 2 from the shared folder soa12cR1install/Db12cSE2. [crayon-5adef515e142d221315391/] Install JDK 7u85 Install Java 7u85 by executing the following commands as Oracle. [crayon-5adef515e1434731218332/] Create the oraInst.loc When installing oracle products silently the location of the oracle inventory location should be created. This file specifies the location of the Oracle Inventory directory where the Installer creates the inventory of Oracle products installed on the system. Just cut-and-paste the following instructions as user Oracle. [crayon-5adef515e143b850024623/] Install FMW Infrastructure 12.1.3.0.0 By installing the Fusion Middleware infrastructure Oracle WebLogic Server and the Oracle JRF Infrastructure components are installed. [crayon-5adef515e143f212853160/] Install SOA/BPM an
Source: Reddipped.com VirtualBox with SOA, BPM, OSB and BAM in 33 minutes – Reddipped.com
Setup the SSH server to use keys for authentication | G-Loaded Journal Private docker registry behind an httpd reverse proxy – Agile Partner Blog
Comments are currently closed.